

How To Repair Faucet In Bathtub
How to fix a leaky bathtub faucet without a professional

Always wondered how to fix a leaky bathtub faucet? Non only is a leaky faucet annoying, it can add to your water bill if it goes ignored. It's one of those problems we don't think we're capable of facing without a professional plumber, a bit like haemorrhage a radiator. But the truth is you tin can repair a leaky faucet yourself, quickly and hands.
You should repair a leaky faucet as soon every bit you can for sustainable reasons too — recollect about it, if you've got a faucet which regularly drips 24 hours a mean solar day, over a year it could waste material hundreds of liters of h2o.
- Check out how to make clean a garbage disposal
- Here'southward how to unclog a shower drain
Fixing takes a thing of minutes with a few household tools, so there's no reason non to practise information technology. Here'due south how to prepare a leaky faucet.
How to set up a leaky bathtub faucet
What you lot will need
Screwdriver
Adjustable wrench
New washer (potentially)
1. Before you start, it's worth mentioning that most leaky faucets are acquired by damaged washers, so you may want to accept a replacement fix if this is the case.
2. Commencement, shut off your h2o supply. Yous're going to be removing some components and the last thing yous want is water harm. Your h2o supply valve can usually be found in the basement or crawl space of your house. Some will too be located exterior.
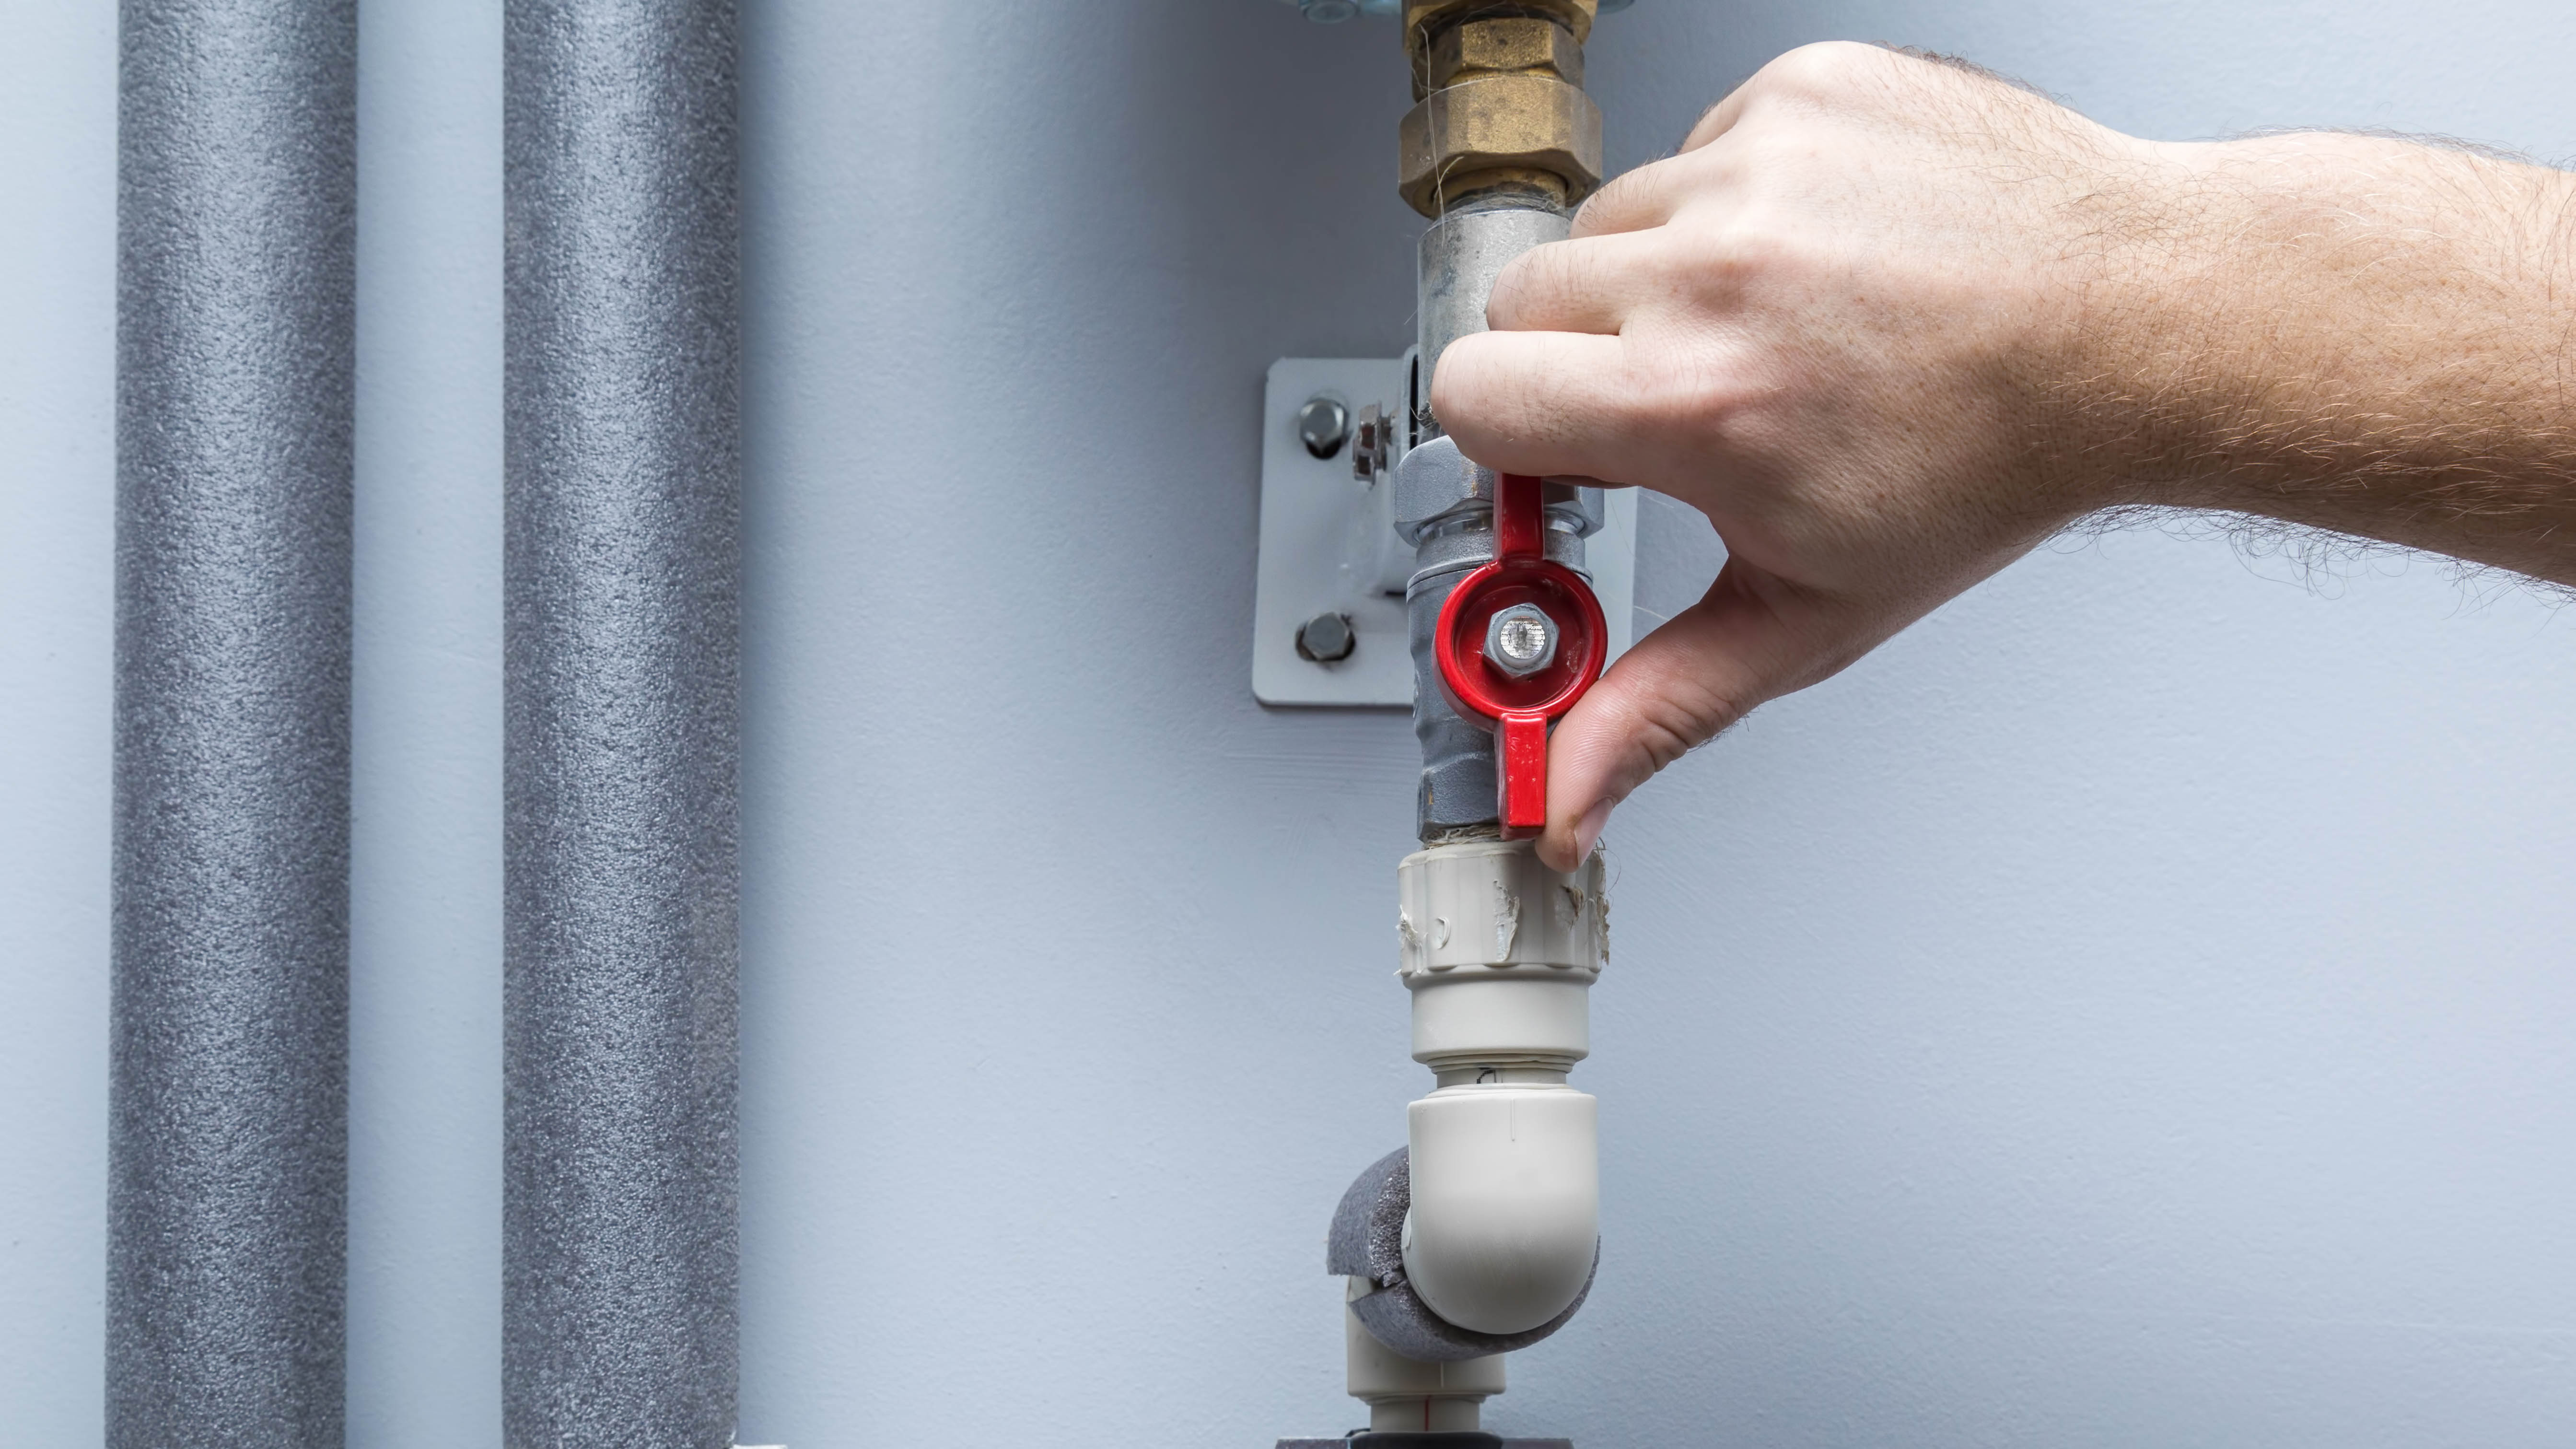
three. Once that's off, plough on your faucet to drain whatsoever residual water before you fix the leak.
4. Once you've done this, y'all're going to want to attain the stem or cartridge, which volition either be behind the faucet itself, or behind the handle plate on the wall, depending on your faucet type. Refer to your manual if yous're unsure.
5. To accomplish the stalk or cartridge, you're going to need to remove your faucet handle. The best method to do this will depend on your type of faucet. If your handle is attached to the faucet, y'all may notice a small screw under the handle which holds information technology in place — you can use a screwdriver to remove the screw and release the handle. If your handle is fastened to the wall with a cap, you lot should be able to remove the cap first by merely twisting it off.
6. Adjacent, you need to either take the faucet away from the wall, or remove the handle plate completely. Either should be possible past removing some boosted screws which should now be visible using a screwdriver.
7. Once y'all've unscrewed these, exist prepared for the faucet or handle plate to come abroad. Some might demand a slight tug as the casing tin can fuse to the wall from limescale and corrosion. Don't force information technology as this can break it. Instead, try warming it past running hot water over it commencement, so try once more.
eight. Continue the screws safe with the handle and faucet, then yous don't lose them.
nine. If you have a escutcheon, which looks similar a keyhole cover on your wall, that will need removing too. Some volition demand to be unscrewed, while others should twist off.
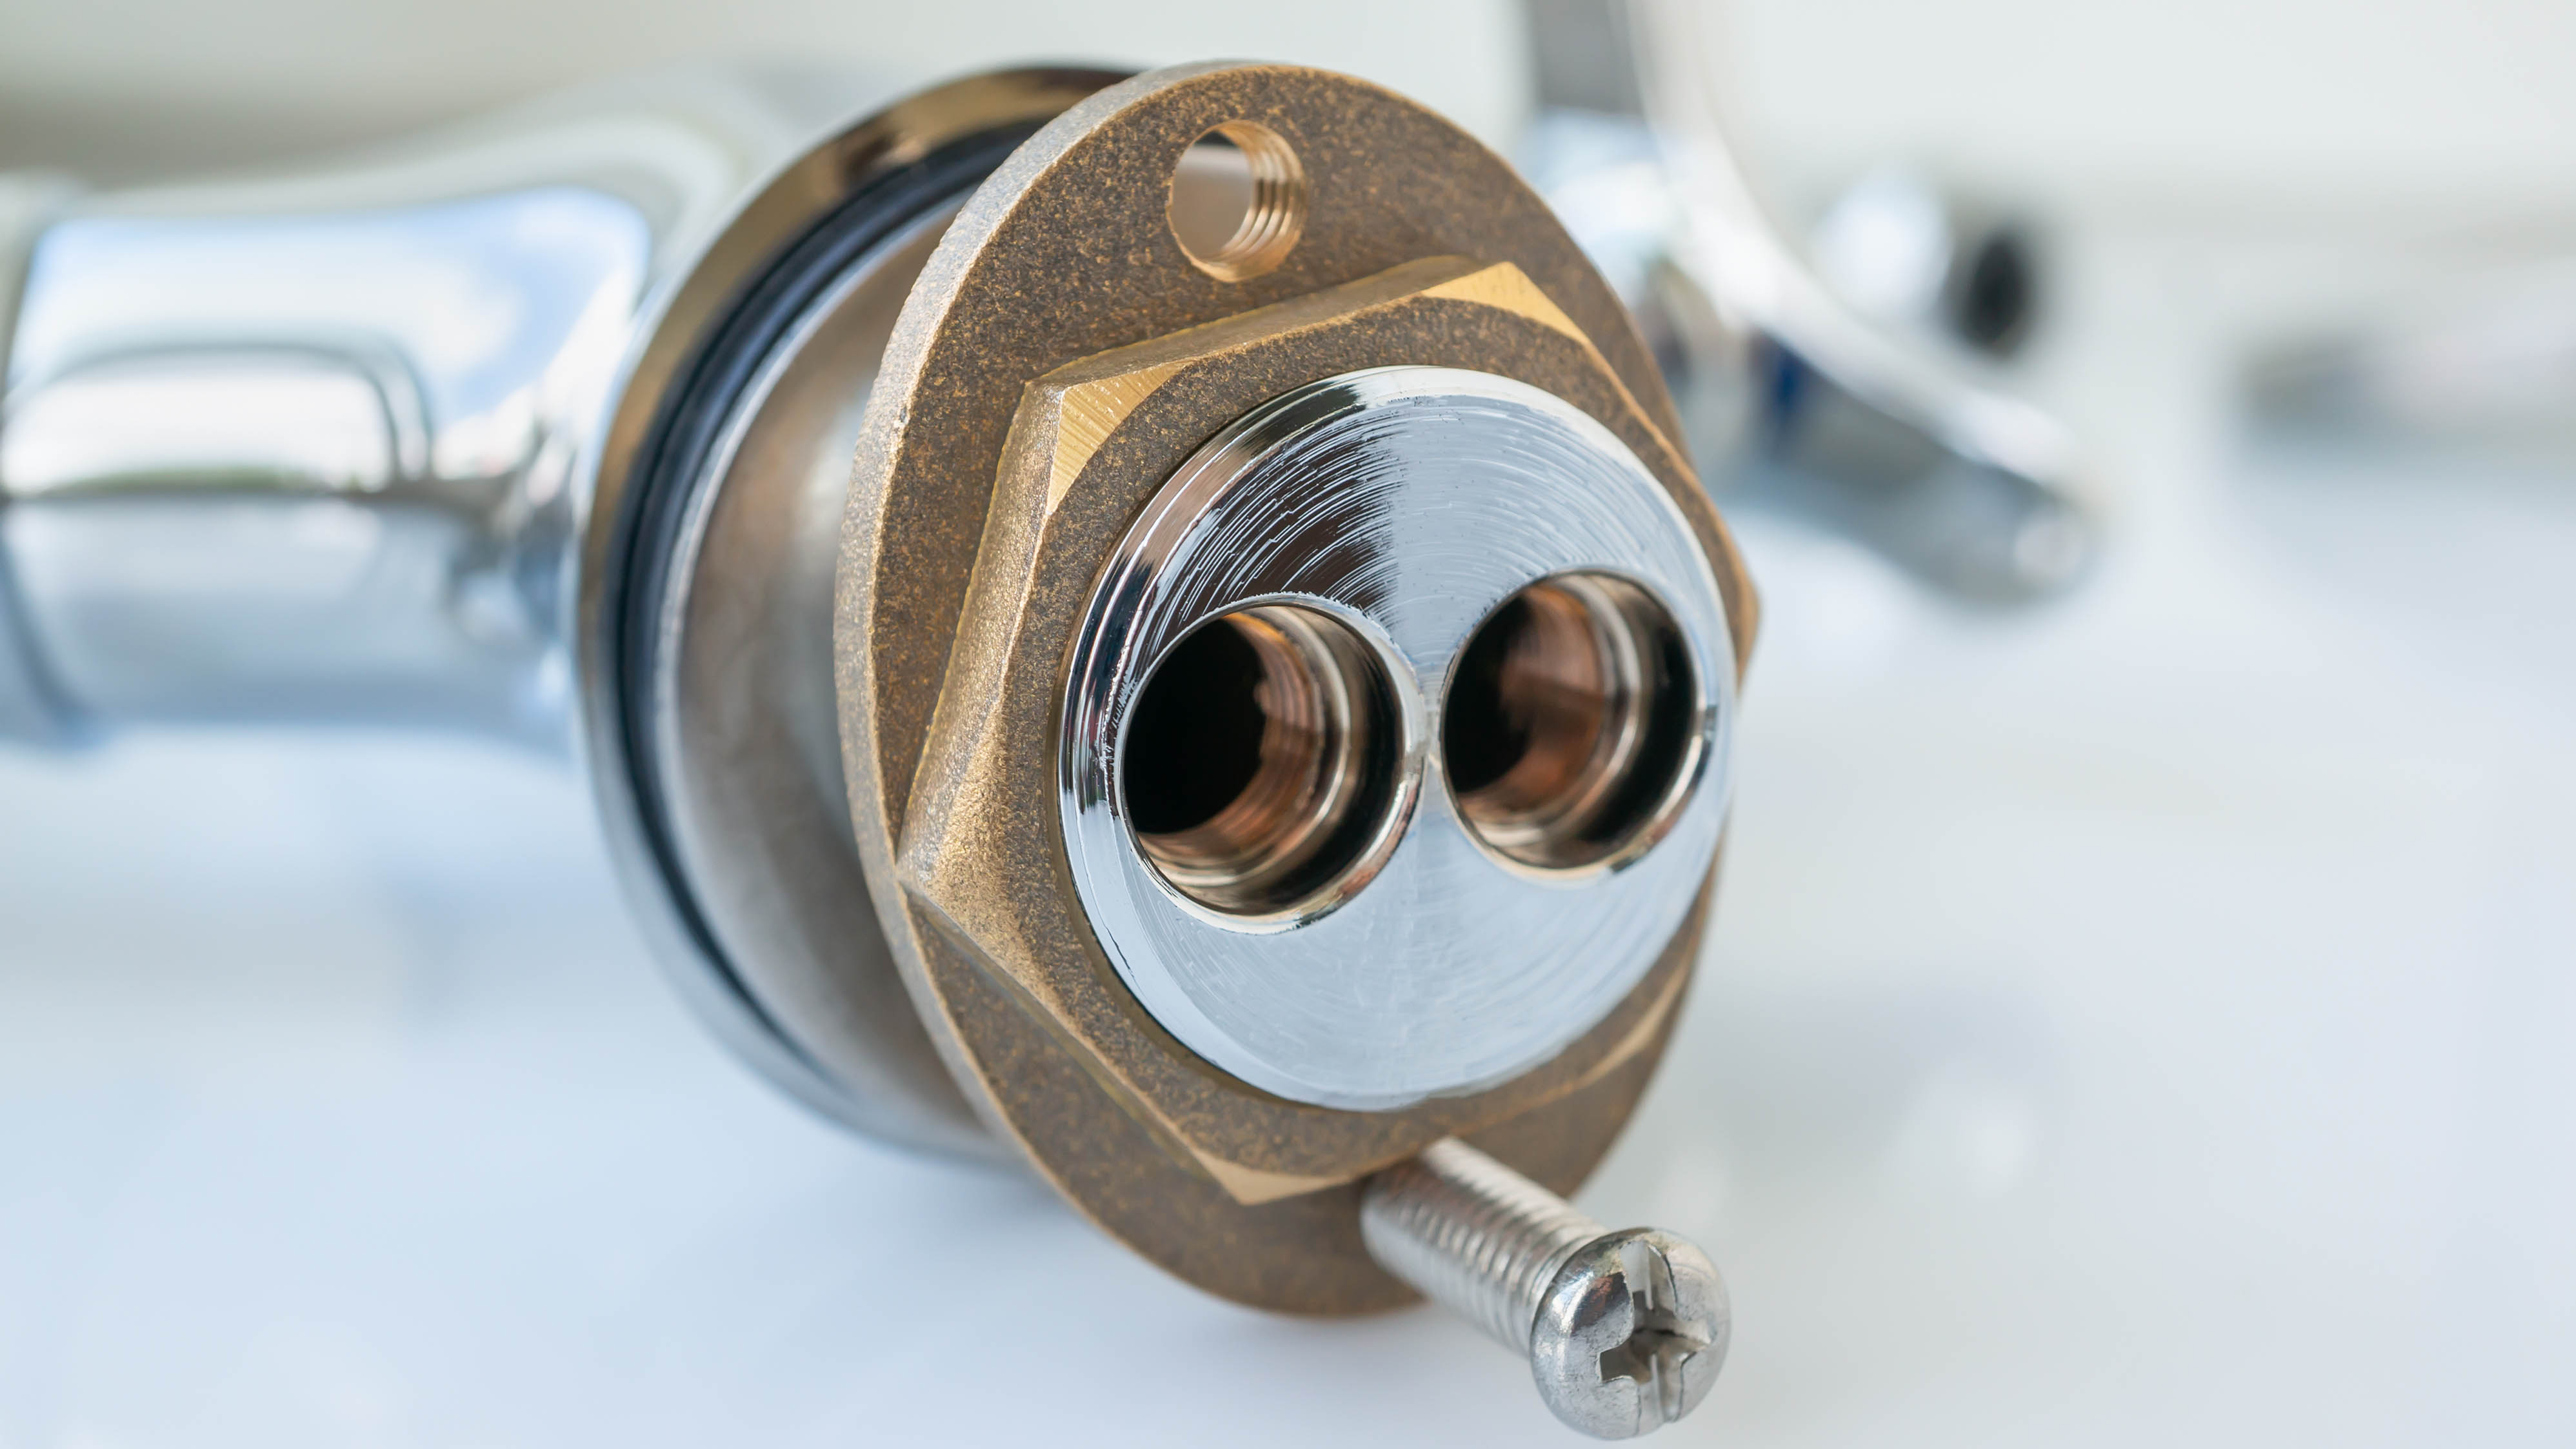
10. Now, you should be looking at the internal stem or cartridge. Remove this using an adjustable wrench and take a good look over it for wear or damage.
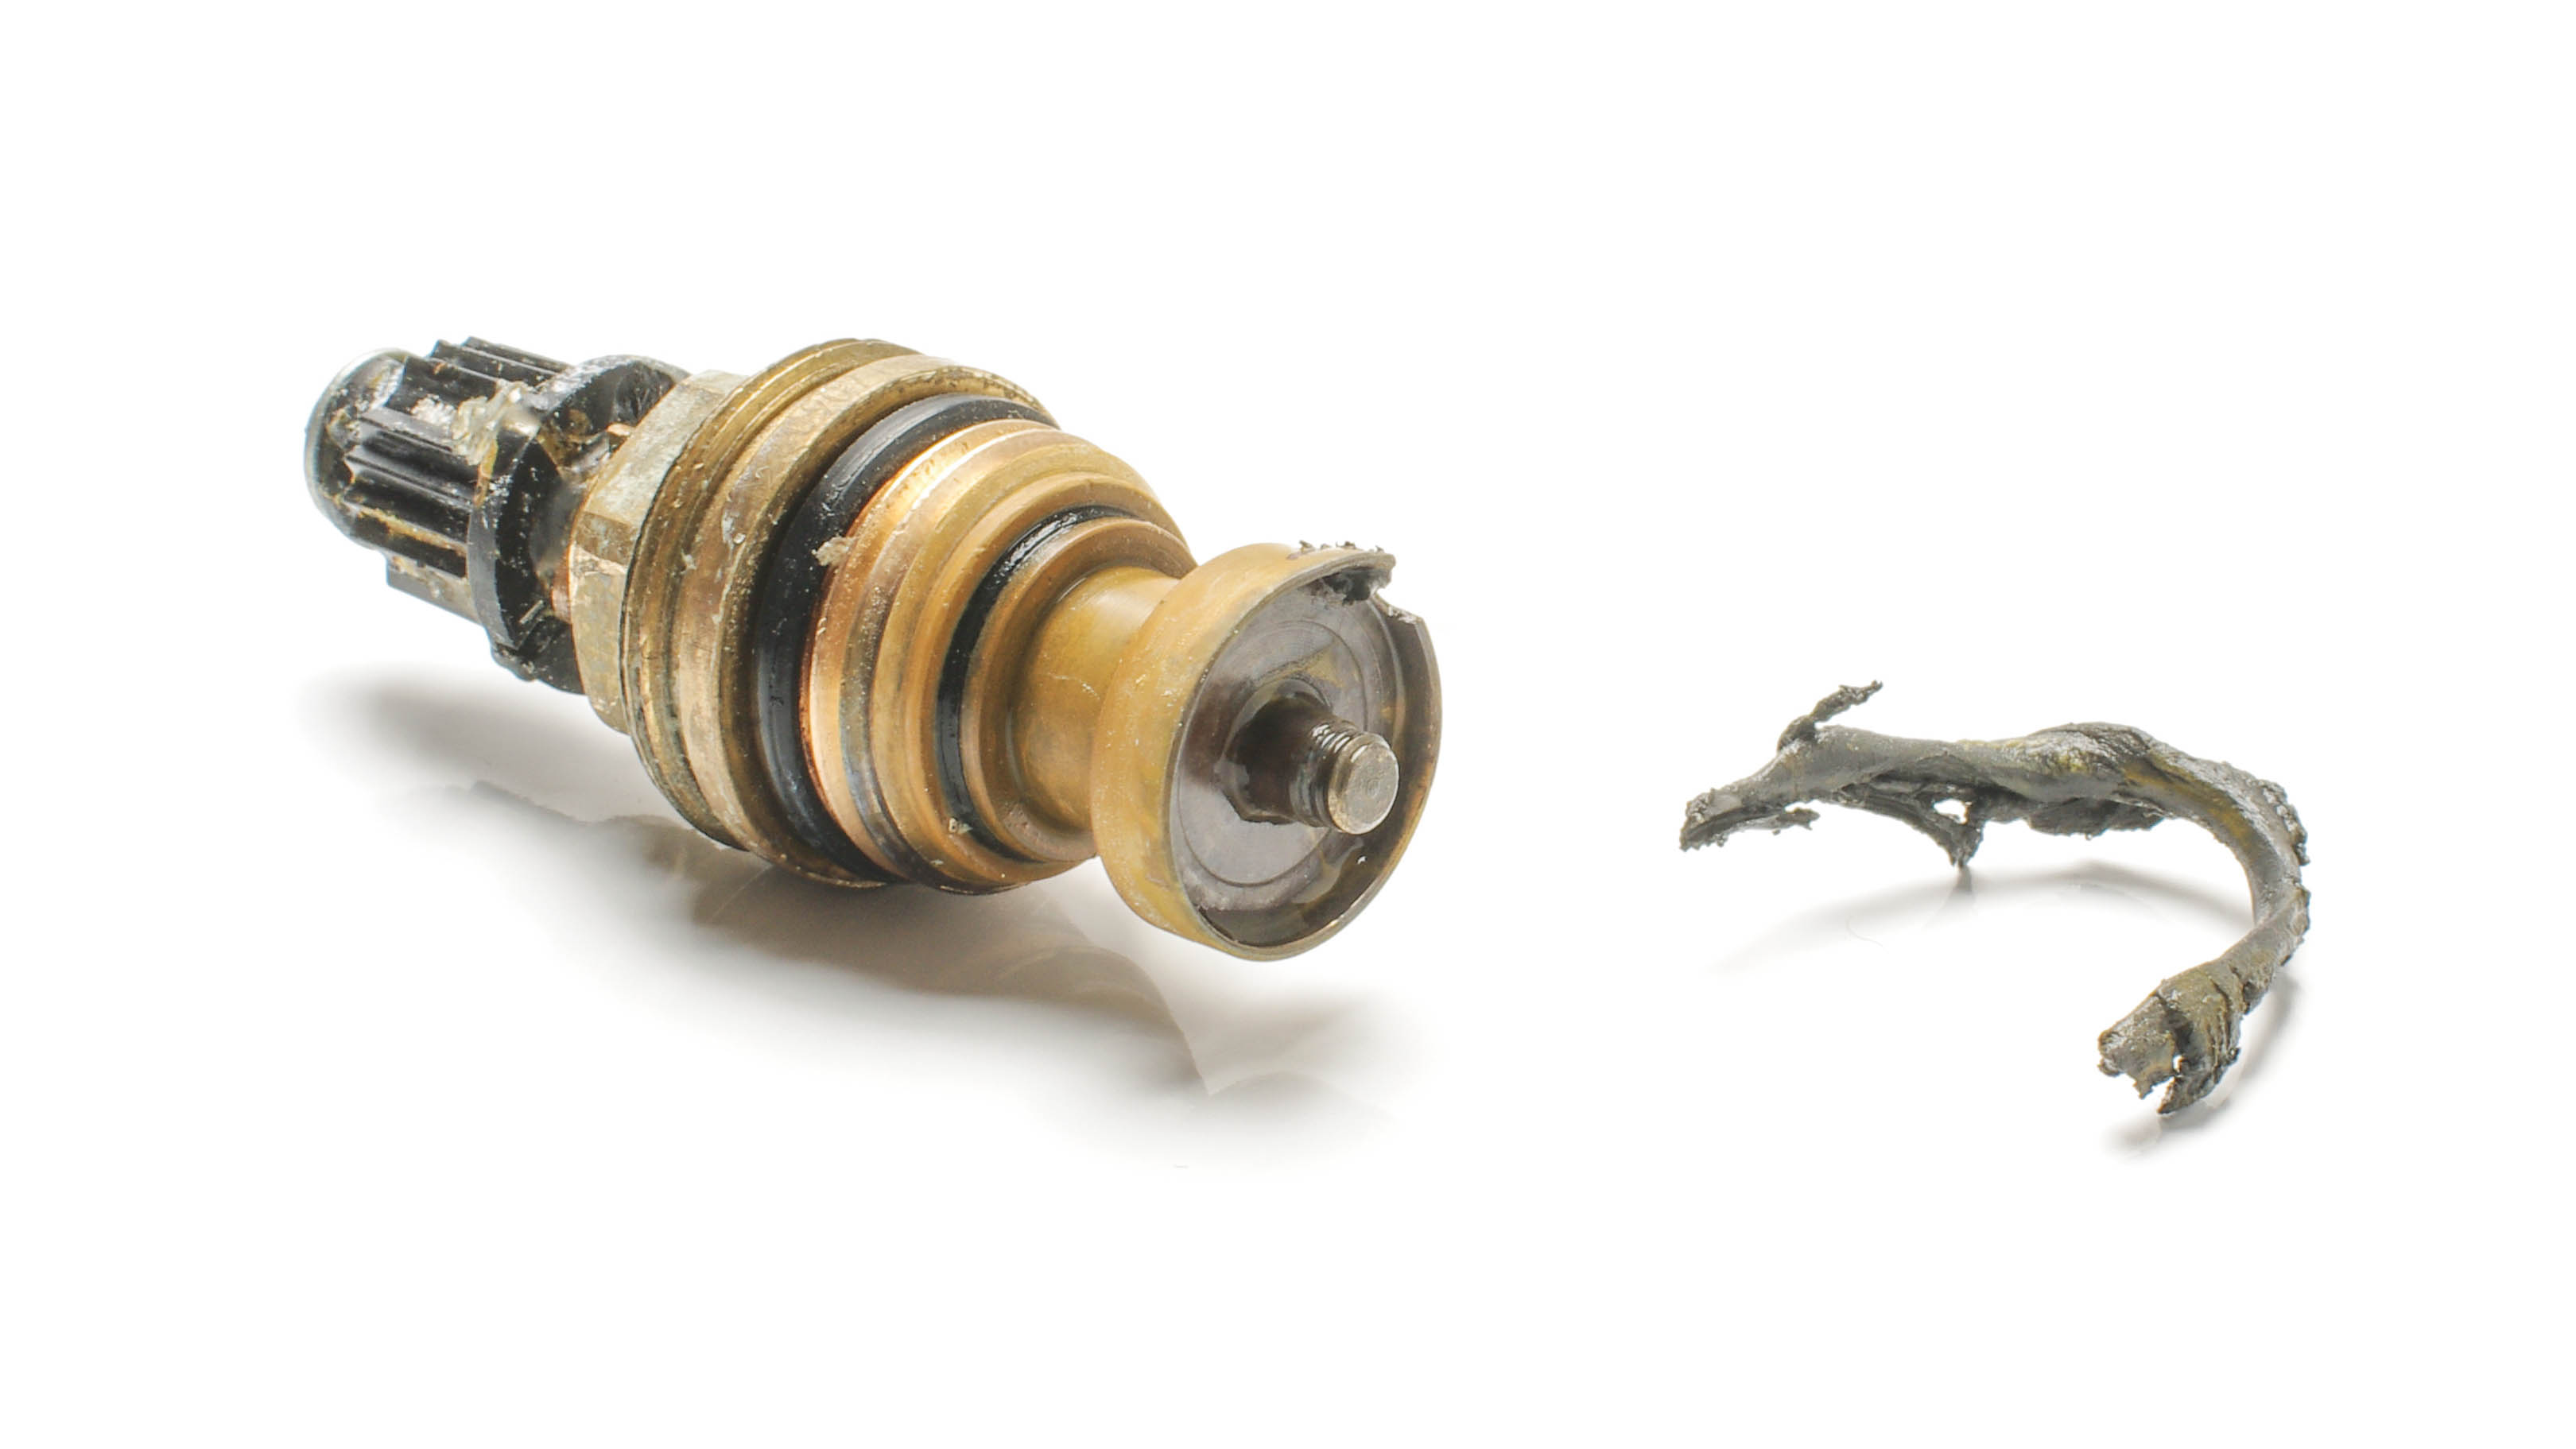
11. Y'all should spot a small rubber band on the meridian of the stem, which is the washer. If this looks worn or cracked, it's likely what's causing the leak. Replace this with a new one later on unscrewing the washer screw, and then reassemble the faucet. If you can't come across a washer, and then you lot need to supercede the cartridge instead.
12. If this doesn't stop the leak, your stem or handle could need replacing — check these as well for damage and order a compatible office if necessary.
13. Once everything is dorsum in identify, switch your water dorsum on.
If this doesn't solve the problem, then information technology'south time to call in a professional. But, hopefully this has put a finish to your leaky faucet.
What causes a leaky faucet?
Most leaky faucets are caused by a worn washer. The washer is essentially pushed against the valve every time the water is turned on and off. This will slowly wear information technology downwardly, until it hardens, cracks and causes a leak. However, leaks can likewise be acquired by a faulty stem or cartridge, or by a rusty handle. Be prepared that at to the lowest degree ane of these parts may need replacing.

Source: https://www.tomsguide.com/how-to/how-to-fix-a-leaky-bathtub-faucet
Posted by: degrootongrat.blogspot.com
0 Response to "How To Repair Faucet In Bathtub"
Post a Comment